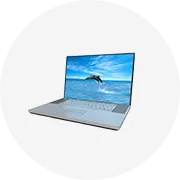
Introduction to Replacing Lenovo Screen
Replacing a Lenovo screen is a vital skill for anyone looking to maintain or enhance the performance of their device. As laptops and notebooks are among the primary tools for work and leisure, a cracked or malfunctioning screen can severely hinder productivity. Understanding the process of replacement not only restores full functionality but can also save on expensive repair costs. In this guide, we delve into various aspects of replacing Lenovo screens, ensuring you are well-equipped to handle this task efficiently.
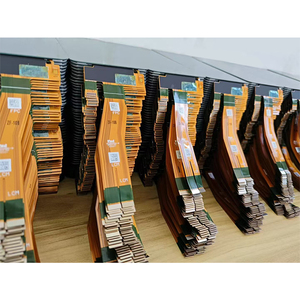
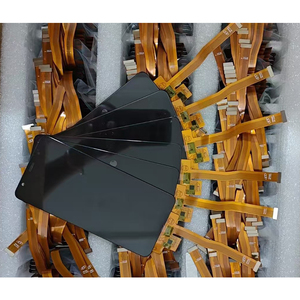
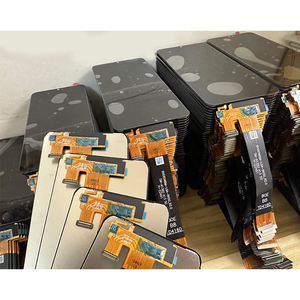
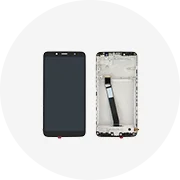
Types of Lenovo Screens for Replacement
When considering a replacement for your Lenovo device, it's crucial to recognize the different types of screens available:
- LCD Screens: Most common in Lenovo laptops, LCD screens are valued for their clarity and brightness.
- LED Screens: Offering better energy efficiency and color vibrancy, LED screens are an upgrade from traditional LCDs.
- Touchscreen Displays: Some Lenovo models come with touch technology, giving users an interactive experience.
- OLED Screens: Known for deep blacks and vibrant colors, OLED screens are becoming increasingly popular in high-end Lenovo models.
Function and Features of Lenovo Screens
Lenovo screens are designed to combine functionality with user-friendly features. Here are some key points to note:
- Resolution: Screens typically come in various resolutions, including Full HD (1920x1080), 4K (3840x2160), catering to professionals requiring high-definition clarity.
- Anti-glare Coatings: Many Lenovo screens include anti-glare technology, ensuring visibility even in brightly lit environments.
- Wide Viewing Angles: The screens possess wide viewing angles, making collaborative work easier without losing visual quality.
- Thin and Lightweight: Designed to complement portable devices, Lenovo screens are typically thin and lightweight, enhancing mobility.
How to Replace a Lenovo Screen
Replacing a Lenovo screen may initially seem daunting, but with the right tools and guidance, it can be an achievable task. Here’s a simple step-by-step approach:
- Gather Tools: You will need a screwdriver set, a plastic prying tool, and an anti-static wrist strap.
- Power Down: Ensure the device is completely shut down and disconnected from any power source.
- Remove the Bezel: Use the plastic prying tool to carefully detach the bezel surrounding the screen. Take your time to avoid damaging the clips.
- Unscrew the Screen: After the bezel is removed, unscrew the screen secured in place, ensuring you keep track of the screws.
- Disconnect the Screen: Gently disconnect the cable connecting the screen to the motherboard, being cautious not to damage any adjacent components.
- Install the New Screen: Connect the new screen to the motherboard, screw it back in place, and replace the bezel to finish the process.
- Test the Device: Power on your Lenovo to check if the new screen operates correctly.
Advantages of DIY Screen Replacement
Choosing to replace your Lenovo screen yourself offers numerous advantages:
- Cost-Effective: DIY replacement can significantly reduce costs compared to professional repair services.
- Empowerment: Gaining the ability to fix your device builds technical skills and boosts confidence in handling future repairs.
- Quality Control: You have the option to select high-quality replacement screens, ensuring superior performance post-replacement.
- Time Efficiency: You can work at your own pace, avoiding long wait times associated with sending devices for professional repairs.