Understanding How to Replace Drum Brakes Disc
When it comes to vehicle safety and performance, understanding the process of replacing drum brakes disc is crucial for all automotive enthusiasts and professionals alike. Drum brakes have been a standard feature in many cars for decades, and while disc brakes are becoming more common, knowing how to replace drum brakes can save time and money. This guide will delve into the types of drum brake components, their functions, and features, and offer insights on how to effectively perform this essential maintenance task.
Types of Drum Brake Components
Understanding the various types of drum brake components is vital for anyone looking to replace them. The main elements involved in this system include:
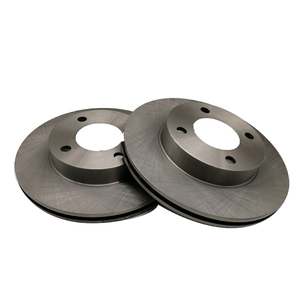
- Brake Drum: This is the cylindrical component that rotates with the wheel and houses the brake shoes.
- Brake Shoes: These are the friction materials that press against the drum to slow down or stop the vehicle.
- Wheel Cylinder: This hydraulic component pushes the brake shoes outward against the drum when brake fluid is applied.
- Return Spring: These springs pull the brake shoes back to their original position once the brakes are released.
Function and Feature of Drum Brakes
The functionality of drum brakes relies on a series of features that optimize their performance:
- Friction Mechanism: The inner surface of the drum interacts with the brake shoes, creating friction to halt the vehicle.
- Hydraulic Action: The hydraulic pressure from the brake fluid allows for a smooth and efficient application of brakes.
- Self-Adjusting Mechanism: Many drum brakes are designed to automatically adjust, maintaining optimal performance over time.
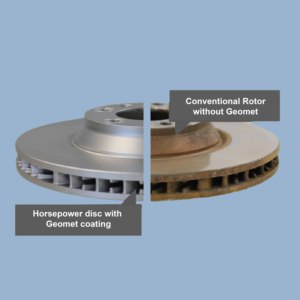
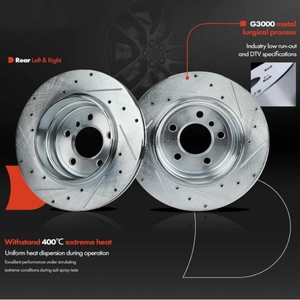
- Heat Dissipation: Drum brakes efficiently dissipate heat during operation, thus reducing the risk of brake fade.
How to Replace Drum Brakes Disc Safely
When it comes to replacing drum brakes, following a proper procedure ensures safety and effectiveness:
- Preparation: Gather essential tools including a jack, jack stands, lug wrench, and brake cleaner.
- Remove the Wheel: Safely lift the vehicle and remove the wheel to access the drum brake assembly.
- Disassemble the Brake Assembly: Carefully unbolt the drum and remove the brake shoes, ensuring to keep track of all small parts.
- Inspect Components: Check the condition of the brake drum, shoes, and wheel cylinder. Replace any damaged components.
- Install New Parts: Follow a reverse process to install the new brake shoes and drum, ensuring everything is tightly secured.
- Test: Before hitting the road, test the brakes in a safe area to ensure they function correctly.
Advantages of Replacing Drum Brakes Disc
Replacing drum brakes can yield numerous advantages:
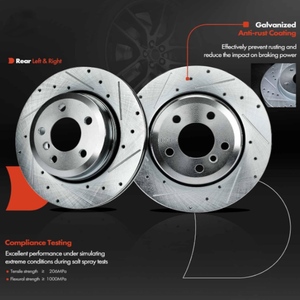
- Enhanced Safety: New brakes ensure that your vehicle stops effectively, reducing the risk of accidents.
- Improved Performance: Fresh components offer better responsiveness and brake feel, creating a smoother driving experience.
- Cost-Efficiency: Regular maintenance and timely replacements can save significant costs on repairs and potential damages due to brake failure.
- Extended Lifespan: By replacing worn parts, the overall lifespan of the braking system is improved, ensuring reliable performance for longer periods.