


Types of Rear View Mirrors
A rear view mirror is an essential component of any vehicle, allowing drivers to see the traffic behind them. The right mirror enhances safety, visibility, and driving comfort. Below are the various types available in today's market.
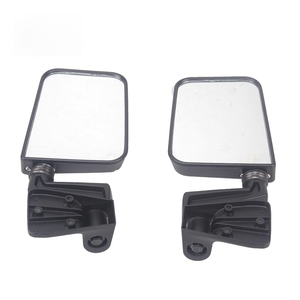
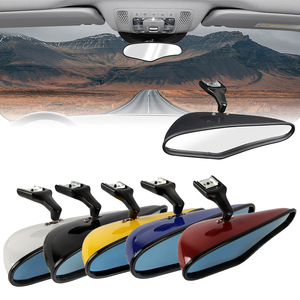
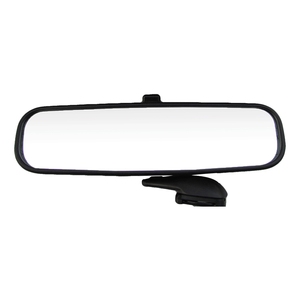
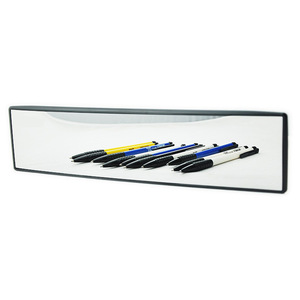
Standard Rear View Mirrors
These are the most common types found in vehicles. They are manually adjustable and come in various sizes and shapes, typically rectangular or convex.
Key features: Manual adjustment, reliable performance, cost-effective
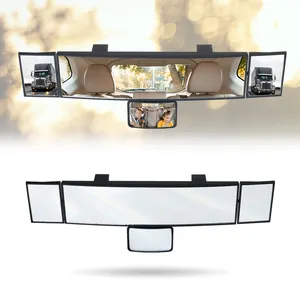
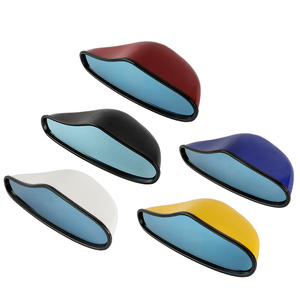
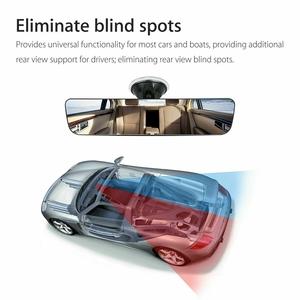
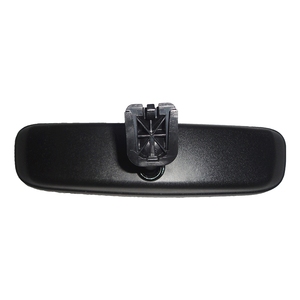
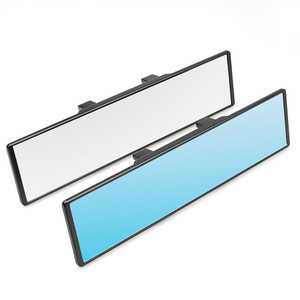
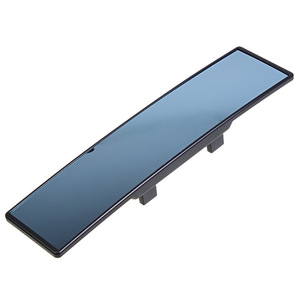
Convex Rear View Mirrors
Designed with a curved surface that allows for a wider field of view. They significantly reduce blind spots and improve overall visibility.
Best for: Larger vehicles like trucks and buses where drivers need to monitor extensive surroundings
Electrochromatic Rear View Mirrors
Equipped with sensors that detect changes in lighting conditions and automatically adjust the mirror's surface to reduce glare.
Key benefit: Enhanced nighttime driving safety and reduced eye strain
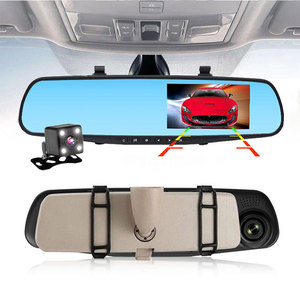
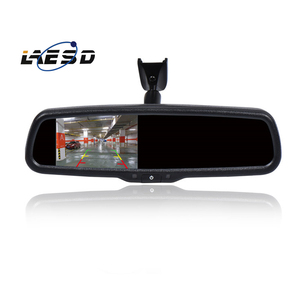
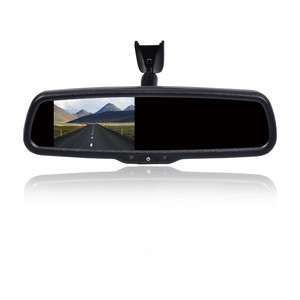
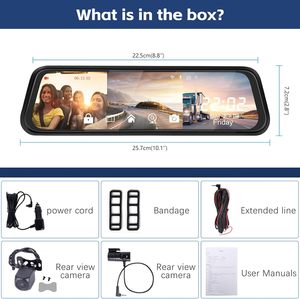
Integrated Rear View Mirrors
These mirrors combine traditional functions with additional features like GPS navigation, backup cameras, and Bluetooth connectivity.
Added value: Convenience features that enhance vehicle functionality and driver experience
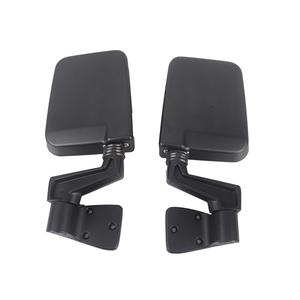
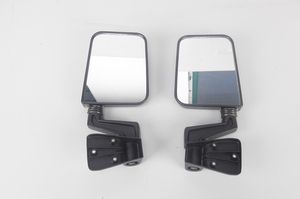
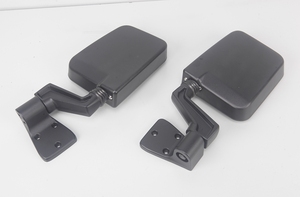
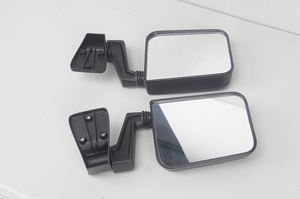
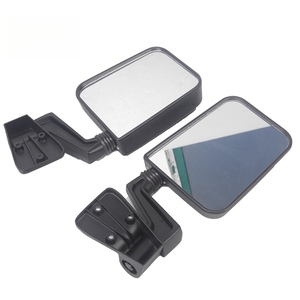
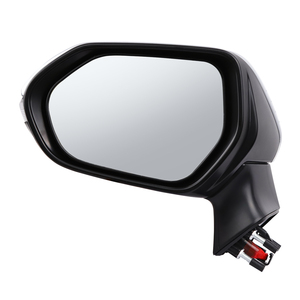
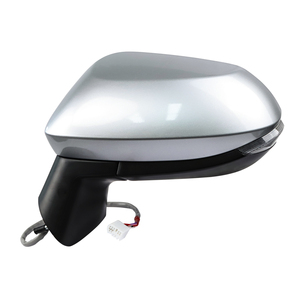
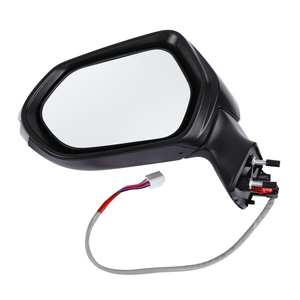
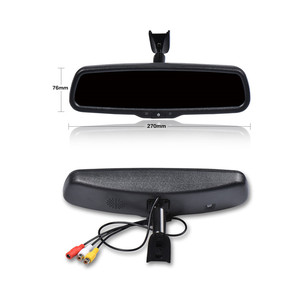
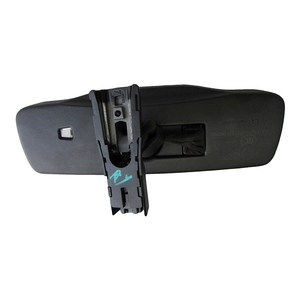
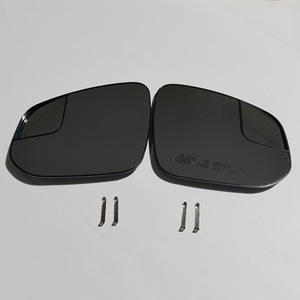
Exterior Rear View Mirrors
Mounted on the vehicle's outside, allowing drivers to see vehicles on either side. Available with manual or electric adjustments.
Enhanced features: May include heating elements to prevent fogging or freezing
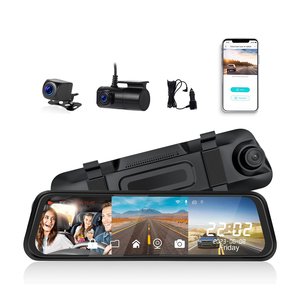
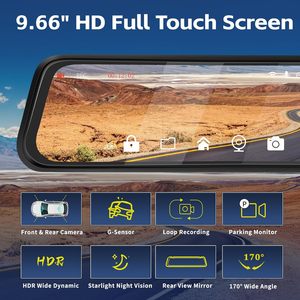
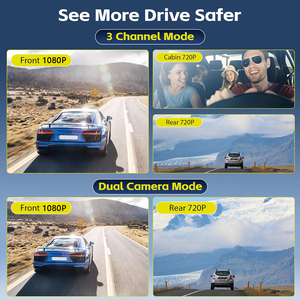
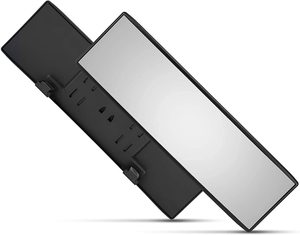
Camera-based Rear View Mirrors
Utilize cameras to provide a live feed of the area behind the vehicle, offering a wider field of view and eliminating blind spots.
Ideal for: Larger vehicles, those towing trailers, and low-light driving conditions
| Mirror Type | Field of View | Special Features | Best For | Price Range |
|---|---|---|---|---|
| Standard | Limited | Basic functionality | Economy vehicles | $-$$ |
| Convex | Wide | Reduced blind spots | Large vehicles | $-$$ |
| Electrochromatic | Standard | Auto-dimming | Night driving | $$-$$$ |
| Integrated | Standard | GPS, camera, Bluetooth | Tech-savvy drivers | $$$-$$$$ |
| Exterior | Moderate | Heating, power adjustment | All vehicles | $$-$$$ |
| Camera-based | Very wide | Digital display, night vision | Luxury vehicles | $$$-$$$$ |
Expert Tip: When choosing between mirror types, consider your typical driving conditions. For mostly urban driving with frequent lane changes, convex or camera-based mirrors provide better coverage of blind spots. For highway driving, especially at night, electrochromatic mirrors significantly reduce glare from headlights.
Specifications and Maintenance of Rear View Mirrors
Key Mirror Specifications
- Material: Glass quality, frame composition (plastic, aluminum, etc.)
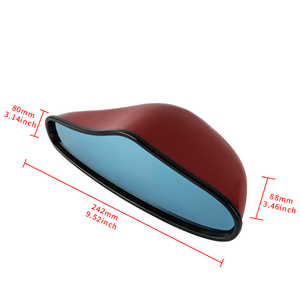
- Size and Shape: Dimensions and design appropriate for your vehicle
- Surface Type: Flat, convex, or aspheric glass
- Advanced Features: Auto-dimming, GPS, touchscreen capabilities
- Connectivity: Bluetooth, smartphone integration
- Camera Integration: Live video feed capabilities
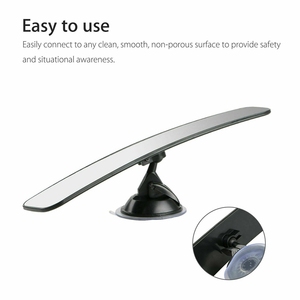
- Mounting Type: Adhesive, bracket, or custom mounting options
Essential Maintenance Practices
Proper maintenance ensures optimal visibility and extends the lifespan of your rear view mirrors:
- Regular Cleaning: Use a soft microfiber cloth and ammonia-free cleanser
- Glass Inspection: Check for cracks, chips, or scratches regularly
- Proper Adjustment: Position mirrors to minimize blind spots
- Secure Mounting: Verify hardware tightness periodically
- Protective Coatings: Apply to repel water and reduce dirt buildup
- Periodic Replacement: Consider replacing mirrors with deteriorated reflection
| Maintenance Task | Frequency | Tools Needed | Importance |
|---|---|---|---|
| Cleaning | Weekly | Microfiber cloth, glass cleaner | High |
| Inspection | Monthly | None | Medium |
| Adjustment Check | Before long trips | None | High |
| Hardware Tightening | Quarterly | Screwdriver | Medium |
| Protective Coating | Semi-annually | Water repellent product | Low |
| Full Replacement | When reflection quality degrades | New mirror, installation tools | High |
Important Warning: Never use paper towels, newspaper, or abrasive cleaners on mirror surfaces. These can create microscopic scratches that accumulate over time, reducing visibility and creating glare points that compromise safety, especially during night driving.
How to Choose Rear-View Mirrors
Selecting the right rear-view mirror for your vehicle requires careful consideration of several factors. The proper mirror will enhance safety, driving comfort, and vehicle functionality.
Types of Rear-View Mirrors
Your first decision is between traditional glass mirrors and digital rear-view mirrors:
- Traditional Glass Mirrors: Affordable, reliable, and easy to use
- Digital Rear-View Mirrors: Advanced technology offering wider field of view and enhanced features
Consider: Your budget, driving habits, and technological preferences
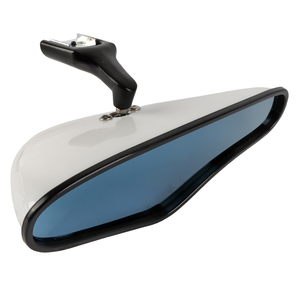
Glass Quality
The quality of glass directly impacts safety and visibility:
- Shatterproof Glass: Essential for safety in case of accidents
- Blue Tint: Helps reduce glare from oncoming traffic
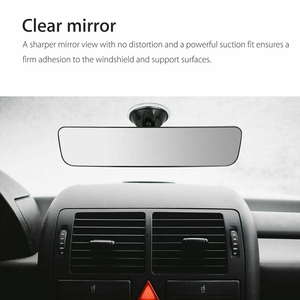
- Clarity: Higher quality glass provides distortion-free views
Look for: Optical-grade glass with safety certifications
Frame Material
The durability of your mirror depends largely on its frame material:
- Plastic Frames: Lightweight and affordable, but less durable
- Aluminum Frames: Excellent balance of weight and durability
- Steel Frames: Maximum durability but heavier
Consider: Climate conditions and expected lifespan
Anti-Glare Features
These features significantly enhance nighttime driving safety:
- Anti-Glare Coating: Thin layer applied to reduce light reflection
- Electrochromatic Glass: Automatically darkens to reduce headlight glare
- Prismatic Day/Night Adjustment: Manual flip mechanism to reduce glare
Best for: Drivers who frequently travel at night
| Selection Factor | Economy Option | Mid-Range Option | Premium Option |
|---|---|---|---|
| Mirror Type | Standard Glass | Convex/Anti-Glare | Digital/Camera-Based |
| Glass Quality | Basic | Shatterproof | Optical-grade with Blue Tint |
| Frame Material | Plastic | Reinforced Plastic/Aluminum | Aluminum/Steel |
| Anti-Glare | Manual Day/Night | Anti-Glare Coating | Electrochromatic |
| Additional Features | None | Compass/Temperature | GPS/Bluetooth/Camera |
| Approximate Cost | $20-$50 | $50-$150 | $150-$500+ |
Buyer's Tip: When upgrading your rear-view mirror, check for compatibility with your vehicle's make and model. Some advanced features may require additional wiring or mounting adaptations. For the most seamless integration, consider manufacturer-recommended options or consult with a professional installer.
How to DIY and Replace Rear View Mirror
Replacing a rear view mirror is a simple DIY task that can save you money and time. Follow these step-by-step instructions to successfully replace your car's rear view mirror.
Step 1:
Choose the Right Replacement Mirror
Select a mirror that matches your original in size and features. Ensure it's compatible with your vehicle's mounting method. Check your vehicle's manual or manufacturer's website for specific recommendations.
Step 2:
Gather Necessary Tools
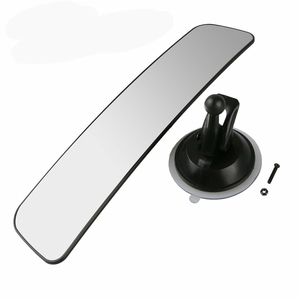
You'll need: a screwdriver (Phillips or flat-head, depending on your mirror type), adhesive (if using an adhesive mount), mirror backing, wedge or spacer (if needed), and cleaning supplies (isopropyl alcohol and microfiber cloths).
Step 3:
Prepare the Work Area
Clean the windshield area where the new mirror will be mounted. This ensures a strong bond and prevents scratches. Park your vehicle in a shaded area to prevent adhesive from drying too quickly in direct sunlight.
Step 4:
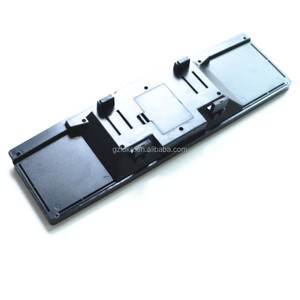
Remove the Old Mirror
For screw-mounted mirrors: Loosen the set screw with a screwdriver and slide the mirror off the mount.
For adhesive-mounted mirrors: Gently pry off using a plastic trim tool or wedge to avoid damaging the windshield.
Step 5:
Prepare the Mounting Surface
Clean the mounting area thoroughly. For adhesive mounts, remove any residual adhesive with isopropyl alcohol and allow the area to dry completely.
Step 6:
Install the New Mirror
For screw-mounted mirrors: Attach to the existing mount and tighten the screw securely without overtightening.
For adhesive-mounted mirrors: Apply adhesive to the back of the new mirror, position carefully, and press firmly against the windshield for the recommended time.
Step 7:
Allow Adhesive to Cure
If using adhesive, follow the manufacturer's instructions for curing time. Typically, you should wait 24-48 hours before using the vehicle or adjusting the mirror position.
Step 8:
Test and Adjust the New Mirror
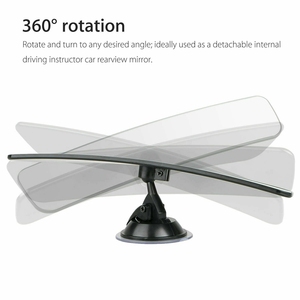
After installation, adjust the mirror to your preferred position and ensure it's stable. Test its movement and security before driving.
Step 9:
Replace Any Removed Components
If you removed any interior trim or covers to access the mirror mount, reinstall them securely to complete the installation.
Safety Warning: Never use household glue or non-automotive adhesives to mount your rear-view mirror. These products are not designed to withstand temperature variations and vibrations experienced in vehicles. Always use manufacturer-recommended adhesives specifically formulated for automotive mirror mounting.
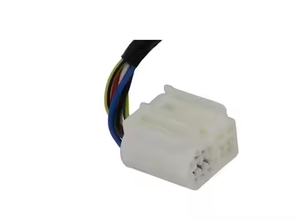
DIY Tip: If replacing an electrochromatic or integrated mirror with advanced features, take photos of the wiring connections before disconnection. This will serve as a reference during reinstallation. For mirrors with complex electrical components, consider consulting with a professional if you're not confident in your wiring skills.
Questions and Answers
Q1: What are the common problems with rear-view mirrors?
Rear-view mirrors commonly experience several issues over time, including:
- Mirror Collapse: The mirror may fall from its mount due to adhesive failure or loose hardware
- Glass Breakage: Cracks or complete breakage of the mirror glass
- Unclear Reflection: Deterioration of the reflective coating causing blurry images
- Adjustment Problems: Difficulty maintaining the desired position
- Electronic Failures: In auto-dimming or integrated mirrors, electrical components may malfunction
Q2: How can these problems be solved?
Different solutions have been developed to address common rear-view mirror problems:
- For Collapsing Mirrors: Tighten mounting screws or replace the mount entirely. For adhesive mounts, clean the surface thoroughly and apply new automotive-grade adhesive.
- For Broken Glass: Replace the mirror glass or the entire assembly if the frame is also damaged.
- For Unclear Reflection: If the reflective coating is deteriorating, the mirror glass needs replacement. Temporary cleaning solutions won't fix this issue.
- For Adjustment Issues: Lubricate the adjustment mechanism or replace worn components that prevent proper positioning.
- For Electronic Failures: Check wiring connections first. If problems persist, consult with a professional for component-level repair or complete replacement.
Q3: What are the steps involved in replacing a rear-view mirror?
Replacing a rear-view mirror involves a systematic process:
- Remove the old mirror by loosening mounting hardware or carefully detaching adhesive-mounted mirrors
- Clean the mounting surface thoroughly to remove residue and ensure proper adhesion
- Prepare the new mirror and any required mounting hardware or adhesive
- Attach the new mirror following manufacturer instructions (using screws or adhesive as appropriate)
- Allow proper curing time for adhesive-mounted mirrors
- Test the stability and adjust the mirror to the desired position
The specific details may vary depending on your vehicle make and model, so consulting your owner's manual is recommended.
Q4: Can non-automatic mirrors be replaced with automatic ones?
Yes, it is possible to replace manual mirrors with automatic (auto-dimming) mirrors, but several factors must be considered:
- Wiring Requirements: Auto-dimming mirrors require electrical connections for their sensors and dimming mechanism to function
- Mounting Compatibility: Ensure the new mirror's mounting system is compatible with your vehicle
- Professional Installation: For vehicles without existing wiring for auto features, professional installation is recommended
- Cost Consideration: The upgrade is more expensive than a like-for-like replacement due to the advanced technology
- Vehicle Compatibility: Some older vehicles may require additional adaptors or modifications to support automatic mirrors
Many aftermarket kits are available specifically designed for upgrading from manual to automatic mirrors in popular vehicle models.
Q5: How do I properly adjust my rear-view mirrors to minimize blind spots?
Properly adjusting your mirrors is crucial for maximizing visibility and safety:
- Interior Rear-View Mirror: Adjust so you have a clear view through your rear window. The entire rear window should be visible.
- Driver's Side Mirror: Lean your head toward the driver's window and adjust the mirror until you can barely see the side of your car.
- Passenger's Side Mirror: Lean to the right toward the center console and adjust the passenger mirror until you can barely see the side of your car.
- Check for Overlap: Ensure there's a slight overlap between what you see in your rear-view mirror and what appears in your side mirrors.
- Test the Setup: Have a friend walk around your parked car while you remain in the driver's seat to verify there are no significant blind spots.
This method creates a wider field of view and significantly reduces blind spots compared to traditional adjustment techniques.


 浙公网安备 33010002000092号
 浙B2-20120091-4