Introduction to Rainbow Card DIY
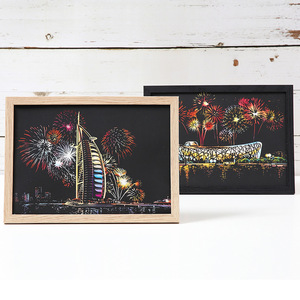
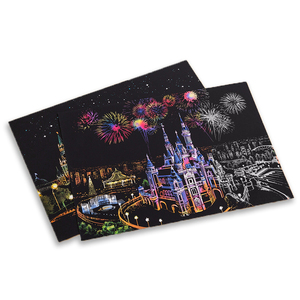
The art of crafting with a rainbow card DIY project offers an exciting opportunity to unleash creativity and brighten up any occasion. Whether it's a birthday, an anniversary, or simply a heartfelt note, creating personalized rainbow cards can convey messages of love and joy. This DIY endeavor allows enthusiasts of all ages to engage in a fun and rewarding activity, encouraging artistic expression and providing a tangible keepsake that captures cherished moments.
Types of Rainbow Card DIY Projects
Rainbow card DIY can take various forms to suit different preferences and occasions, making it versatile and enjoyable. Here are some common types:
- Pop-Up Cards: These dynamic cards incorporate a three-dimensional rainbow that springs up when opened, captivating recipients.
- Layered Cards: These cards utilize multiple layers of colored paper to create a stunning gradient effect that mimics a natural rainbow.
- Watercolor Cards: Using watercolor techniques on blank cards can produce beautiful, whimsical rainbow designs.
- Origami Rainbow Cards: A unique method that combines card making with origami to create folded designs resembling a rainbow.
Function and Feature of Rainbow Card DIY
A rainbow card DIY project not only serves as a medium for your thoughts and feelings but also showcases numerous features and functionalities that enhance its appeal:
- Personal Touch: Each card is uniquely crafted, offering a personal touch that store-bought cards rarely provide.
- Creative Expression: Choosing colors, designs, and messages encourages creativity and artistic thinking.
- Customizable Size: These cards can be made in various sizes to suit different messages and occasions.
- Durability: Depending on the materials used, rainbow cards can be made to last, becoming cherished keepsakes over time.
How to DIY and Replace Rainbow Card Projects
Embarking on a rainbow card DIY project is straightforward and rewarding. Here’s a simple guide to help you create your masterpiece:
- Gather Your Materials: You'll need colored cardstock, scissors, a ruler, a pencil, adhesive, and any decorative items like stickers or markers.
- Create a Template: Design your card template based on the type you wish to make, ensuring you incorporate all necessary folds or cut-outs.
- Cut and Assemble: Carefully cut out the card pieces and assemble them according to your design, using adhesive as necessary.
- Add Personal Touches: Decorate your card with additional colors or embellishments to truly make it yours.
- Write Your Message: Finish your card by writing a heartfelt message inside, celebrating the occasion it’s meant for.
Advantages of Rainbow Card DIY Projects
Engaging in rainbow card DIY projects offers numerous advantages that go well beyond aesthetics:
- Fosters Creativity: The process encourages individuals to think outside the box and develop artistic skills.
- Strengthens Relationships: Handmade cards have a significant emotional impact and can strengthen bonds between the creator and recipient.
- Cost-Effective: Creating cards at home can be more economical than purchasing them, especially in bulk for events.
- Eco-Friendly: Opting for recycled materials or using leftover papers reduces waste and promotes sustainability.
- Therapeutic Benefits: Engaging in craft activities can reduce stress and act as a form of relaxation and mindfulness.