All categories
Featured selections
Trade Assurance
Buyer Central
Help Center
Get the app
Become a supplier
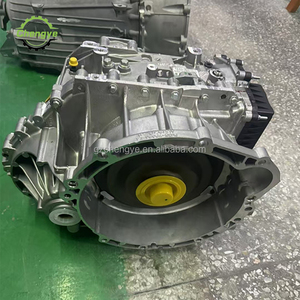
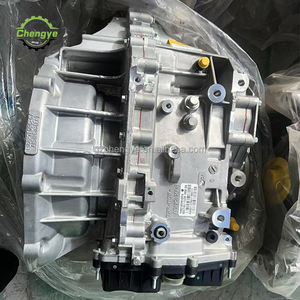
Gearbox MPS6 6DCT450
Powershift
6 Speed 2.0T DCT Automatic Transmission for FORD MAZDA VOLVO Dodge Avenger XC60 S80
$680 - 720
Min. Order: 1 piece
Alibaba
Vehicle Parts & Accessories
Auto Transmission Systems
Other Auto Transmission Systems
Powershift
(1265 products available)
Previous slide
Next slide
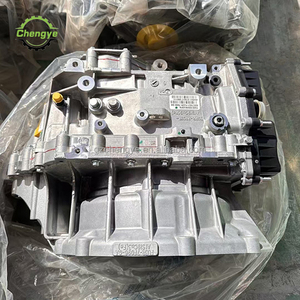
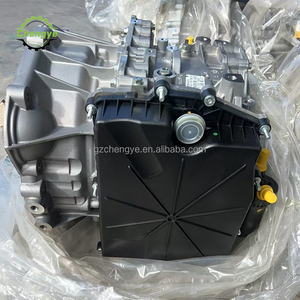
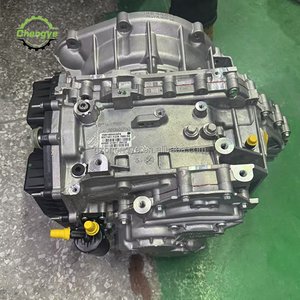
Gearbox MPS6 6DCT450
Powershift
6 Speed 2.0T DCT Automatic Transmission for FORD MAZDA VOLVO Dodge Avenger XC60 S80
$680-720
Min. Order: 1 piece
Previous slide
Next slide
HT11 New Hybrid At Gearbox Sub-Assembly High Performance Product In The Gear Boxes Category
Ready to Ship
$120-150
Min. Order: 2 pieces
Previous slide
Next slide
Rv Series Worm Gearbox Stainless Steel Gearbox Worm Gear Reducer Small Transmission Gearbox
$100-200
Min. Order: 2 pieces
Previous slide
Next slide
Car Transmission Oil Filter U140E Gearbox Filter For Toyota LEXUS 35330-0W010 35330-06010 35330-28010 Oil Filter Transmission
$2
Shipping per piece: $39.53
Min. Order: 30 pieces
Previous slide
Next slide
Synchronous Belt Pulley XL L MXL H 8M 5M S3M S14M T10 GT2 GT3 Timing Belt and Timing Pulley
Ready to Ship
$0.60-3.98
Shipping per piece: $23.64
Min. Order: 10 pieces
Previous slide
Next slide
6DCT450 MPS6 Automatic Transmission Filter MPS6 6DCT450 Automatic
Powershift
Gearbox Internal Filter 7M5R7G186AC 7M5R-7G186-AC
$1-50
Min. Order: 10 pieces
Previous slide
Next slide
1684808 6DCT450 Brand New
Powershift
Gearbox Seal Cover for Ford for C-Max for Focus for Land Rover for Volvo 2.0L 2.2L 2.4L
$2-10
Min. Order: 10 pieces
Previous slide
Next slide
852XGAKP-F6XS 852 Series Eight Bolt
Powershift
$20-30
Min. Order: 1 set
1
2
3
4
5
More pages
32
Top categories
Wheels, Tires & Accessories
Auto Performance Parts
Universal Parts
Auto Body Systems
Interior Systems
Marine Parts & Accessories
Auto Lighting Systems
Auto Engine Systems
Motorcycle Parts & Accessories
Auto Electrical Systems
Auto Brake Systems
Train Parts & Accessories
Railway Parts & Accessories
New Energy Vehicle Parts & Accessories
Cooling System
Auto Transmission Systems
Previous slide
Next slide
Related Searches:
e rikshaw
redshift
china rikshaw
uk car warranty
hot mahi
venti e
go russia
habilys
us health works
orissa city
gutted mahi
ishift
nice city
musicals kansas city
us1mf


 Ready to Ship


 Ready to Ship


