


Types of OBD1 Scanners
An OBD1 scanner is a diagnostic device used to read and analyze the performance of vehicle systems in cars manufactured before 1996. Understanding the different types available helps in selecting the right tool for your specific needs.
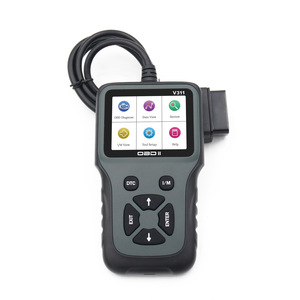
Hand-held OBD1 Scanner
These compact, portable devices are designed for easy diagnostics on the go. Their lightweight construction makes them ideal for both professional mechanics and DIY enthusiasts.
Key Features:
- Color displays with intuitive interfaces
- Real-time data stream monitoring
- Rechargeable batteries for cordless operation
- Advanced diagnostic capabilities including data graphing
- Easy portability between vehicles
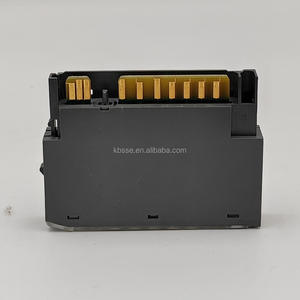
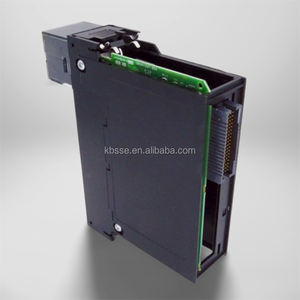
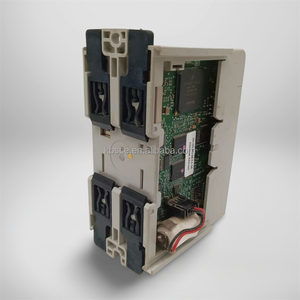
OBD1 Scanner Cable
This essential component creates the connection between diagnostic tools and a vehicle's OBD1 port, enabling communication with the onboard computer system.
Key Features:
- Vehicle-specific connector designs
- Various lengths for flexible positioning
- Durable construction for workshop environments
- Secure connection to prevent data interruption
- Compatible with multiple diagnostic tools
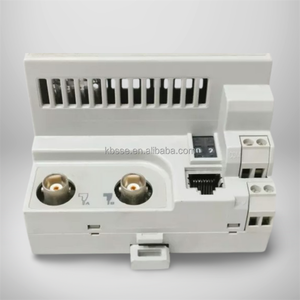
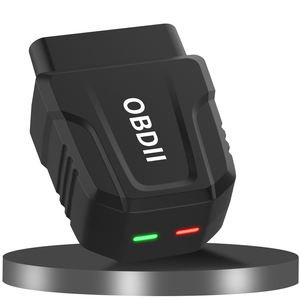
OBD1 to OBD2 Adapters
These bridge devices allow modern OBD2 scanners to work with older vehicles equipped with OBD1 systems, providing backward compatibility.
Key Features:
- 16-pin conversion capability
- Support for multiple OBD1 connector types
- Enables use of advanced modern diagnostic tools
- Essential for shops servicing both old and new vehicles
- Cost-effective alternative to dedicated OBD1 scanners
Professional Tip: When working with classic vehicles (pre-1996), always verify the exact OBD1 protocol used by the manufacturer. Different brands implemented proprietary systems that may require specific scanner compatibility.
| Scanner Type | Best For | Typical Price Range | Key Advantage |
|---|---|---|---|
| Hand-held Scanner | Professional mechanics and dedicated DIYers | $100-$500 | Complete diagnostic solution with integrated display |
| OBD1 Scanner Cable | Users with existing diagnostic equipment | $20-$80 | Cost-effective connectivity solution |
| OBD1 to OBD2 Adapter | Shops servicing wide range of vehicles | $30-$150 | Maximizes utility of modern OBD2 equipment |
Specifications of OBD1 Scanners
Understanding the technical specifications of OBD1 scanners helps ensure compatibility with your vehicle and provides insight into the device's capabilities.
Hardware Components
- Display: Screen sizes vary from basic LED indicators to full-color LCD panels, with backlit options for low-light conditions
- Keypad: Navigation buttons designed for menu selection and parameter adjustment
- Connector Cable: Vehicle-specific cables with varying lengths (typically 3-6 feet)
- Housing: Ruggedized casing designed for workshop environments
Software Capabilities
- Code Reading: Ability to interpret vehicle-specific trouble codes
- Live Data: Real-time parameter monitoring of engine performance
- Self-Tests: Integrated diagnostic routines to verify system operation
- Memory: Storage capacity for saving diagnostic data and history
Power & Connectivity
- Power Supply: Vehicle-powered through diagnostic port or independent battery power
- Connectors: Vehicle-specific diagnostic interfaces
- Status Indicators: Visual feedback for operation state and error conditions
- Update Interface: Method for software updates (if supported)
Maintaining Your OBD1 Scanner
Proper maintenance ensures your OBD1 scanner remains accurate, reliable, and has a longer operational lifespan.
- Cleaning: Remove dust and debris with a soft, dry cloth weekly
- Cable Inspection: Check for fraying, breaks, or connector damage monthly
- Battery Check: Verify battery condition or replace as recommended
- Storage: Keep in dry, temperature-controlled environment
- Software Updates: Check manufacturer's website quarterly
- Full System Test: Perform self-diagnostic routine every 6 months
- Connector Cleaning: Use electronics-safe contact cleaner annually
- Professional Calibration: Consider expert review if accuracy issues arise
Important: Never use harsh chemicals, abrasives, or solvents to clean your OBD1 scanner. These can damage the display, housing, and sensitive electronic components.
Best Practices for Scanner Longevity
- Always disconnect properly by following manufacturer shutdown procedures
- Avoid exposing the scanner to extreme temperatures or direct sunlight
- Store cables loosely coiled rather than tightly wrapped to prevent internal wire damage
- Protect the scanner from moisture, oil, and automotive chemicals
- Ensure secure connections to prevent damage to both the scanner and vehicle ports
- Verify compatibility before connecting to unfamiliar vehicle systems
- Keep original packaging for secure storage when not in use
How to Choose the Right OBD1 Scanner
Selecting the optimal OBD1 scanner requires considering several important factors to ensure compatibility and functionality with your specific vehicle needs.
| Selection Criteria | Why It Matters | What to Look For |
|---|---|---|
| Vehicle Compatibility | OBD1 protocols vary by manufacturer and model year | Verify specific make/model support, especially for pre-1990 vehicles |
| User Interface | Affects ease of use and learning curve | Clear display, intuitive menus, good readability in various lighting |
| Data Features | Determines diagnostic depth and analysis capabilities | Live data streaming, graphing functions, freeze frame data capture |
| Portability | Impacts where and how you can use the scanner | Weight under 2 pounds, compact design, protective carry case |
| Build Quality | Affects durability in workshop environments | Rubberized housing, reinforced cable connections, quality buttons |
| Future-Proofing | Extends the useful life of your investment | Software update capability, expandable vehicle coverage |
Buying Tip: If you maintain multiple vehicles from different manufacturers, consider an OBD1 scanner with multi-protocol support or one that offers affordable adapter options for various vehicle makes.
Advanced Features Worth Considering
Code Library
Built-in database of trouble codes with descriptions and potential fixes can save significant diagnostic time.
Bidirectional Control
Ability to not just read but also command vehicle systems for advanced testing capabilities.
Data Export
Options to save, print, or transfer diagnostic data for record-keeping or further analysis.
DIY Guide: Repairing or Replacing Your OBD1 Scanner
When your OBD1 scanner malfunctions, you can often troubleshoot and repair it yourself with some basic tools and knowledge.
Identify the Problem
Before attempting repairs, diagnose the specific issue:
- Power problems: Scanner won't turn on or stays on briefly
- Communication failure: Scanner powers on but doesn't connect with vehicle
- Display issues: Screen is blank, distorted, or partially functioning
- Button malfunction: Unresponsive or erratic navigation controls
Gather Necessary Tools
Assemble the following tools for basic OBD1 scanner repairs:
- Precision screwdriver set (Phillips and flathead)
- Digital multimeter for testing connections
- Soldering iron and lead-free solder (for circuit board repairs)
- Electronic contact cleaner spray
- Replacement parts if identified (buttons, display, cable)
Disassembly Procedure
Carefully open the scanner housing:
- Document the location of all screws (take photos)
- Work on a clean, well-lit surface
- Use gentle prying motions to separate snap-fit components
- Note the orientation of internal ribbon cables
Inspection and Repair
Common issues and fixes:
- Loose connections: Carefully reseat ribbon cables and connectors
- Battery issues: Replace internal battery or clean battery contacts
- Cable damage: Repair wire breaks or replace entire cable assembly
- Circuit board problems: Look for burnt components or cold solder joints
Reassembly and Testing
After completing repairs:
- Carefully reconnect all internal components
- Close housing ensuring no wires are pinched
- Replace all screws in their original locations
- Test scanner functionality before full reassembly
Safety Warning: Always disconnect the scanner from any power source before attempting repairs. Electronic components can retain charge even when powered off.
Frequently Asked Questions
An OBD1 scanner is a diagnostic tool designed to communicate with the On-Board Diagnostics (OBD) system in vehicles manufactured before 1996. These specialized devices retrieve diagnostic trouble codes (DTCs), monitor real-time sensor data, and provide insights into vehicle performance issues, helping mechanics and DIY enthusiasts identify and address mechanical or electronic problems efficiently.
OBD1 was introduced in the early 1980s as the first generation of on-board diagnostic systems for vehicles. California was the first to mandate basic OBD capabilities in 1991, requiring manufacturers to monitor essential emission control components and alert drivers to malfunctions. This pioneering system established the foundation for more sophisticated diagnostic technologies that followed, addressing growing concerns about vehicle emissions and environmental impact.
The key differences between OBD1 and OBD2 systems are:
| Feature | OBD1 | OBD2 |
|---|---|---|
| Standardization | Manufacturer-specific protocols | Universal protocol across all manufacturers |
| Connector Type | Various proprietary connectors | Standardized 16-pin connector |
| Diagnostic Capabilities | Basic engine and emissions codes | Comprehensive system monitoring |
| Data Access | Limited sensor data | Extensive real-time data parameters |
| Implementation Year | Early 1980s to 1995 | 1996 and newer vehicles |
Yes, OBD1 remains relevant for diagnosing and maintaining vehicles manufactured before 1996. Classic car enthusiasts, restoration specialists, and repair shops that service older vehicles regularly utilize OBD1 scanners. The continued demand for these diagnostic tools has prompted manufacturers to develop modern OBD1 scanners with enhanced features while maintaining compatibility with these legacy systems.
An OBD1 scanner performs several critical diagnostic functions:
- Code Reading: Retrieves and displays stored trouble codes from the vehicle's computer
- Real-time Data: Monitors live sensor readings such as engine RPM, temperature, and fuel delivery parameters
- System Tests: Initiates self-tests of various vehicle subsystems
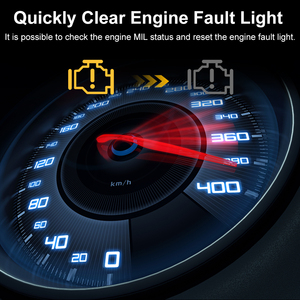
- Code Clearing: Resets the check engine light after repairs are completed
- Historical Data: Some advanced models store previous diagnostic sessions for comparison
These capabilities allow technicians to pinpoint specific issues without extensive manual troubleshooting, saving both time and money on vehicle repairs.