All categories
Featured selections
Trade Assurance
Buyer Central
Help Center
Get the app
Become a supplier
Suitable for YAMAHA
MT03
MT25 Well Performance B9T-F831V-00 Motorcycle Upper Front
Headlight
Stay
$28 - 30
Min. Order: 200 sets
Alibaba
Vehicle Parts & Accessories
Motorcycle Parts & Accessories
Motorcycle Lighting Systems
Mt03 headlight
(53 products available)
Previous slide
Next slide
Suitable for YAMAHA
MT03
MT25 Well Performance B9T-F831V-00 Motorcycle Upper Front
Headlight
Stay
$28-30
Min. Order: 200 sets
Previous slide
Next slide
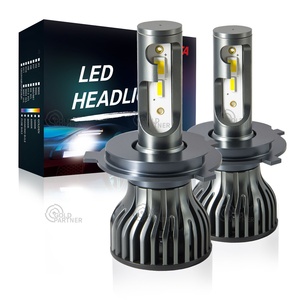
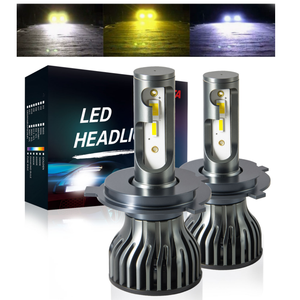
RISING G66PRO 9005 9006 LED
Headlight
Kit 300W 40000lm With 7540 Chip High Brightness Conversion For Automotive Vehicles
Ready to Ship
$3.60-4.68
$4-5.20
-10%
Shipping per piece: $95.07
Min. Order: 50 pieces
Previous slide
Next slide
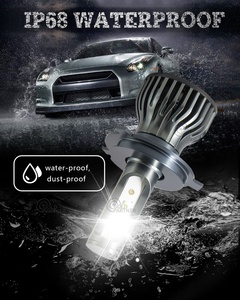
EMC EN62471 ROHS BSCI Super Bright Light 90M Range 3h Lighting 400 LUMENS Plastic Waterproof Rechargeable Led Headlamp Torch
$4.38-4.80
Min. Order: 500 pieces
Previous slide
Next slide
G66PRO H7 300W 40000LM Car Led
Headlights
Bulbs High Power Canbus Ready Waterproof Headlamp Conversion For Auto Vehicles
Ready to Ship
$3.60-4.68
$4-5.20
-10%
Shipping per piece: $95.07
Min. Order: 50 pieces
Previous slide
Next slide
High Quality Tri 3 Color H11 H7 H1 Plug-and-Play Led Head Light 9005 HB3 CSP3570 3 Color Car Led
Headlights
$2.61-3.24
$2.90-3.60
-10%
Shipping per piece: $38.26
Min. Order: 20 pieces
Previous slide
Next slide
Motorcycle Accessories Fit 2016 2017 2018 Head Lamp
Headlight
Assembly for yamaha
MT03
MT25
$130-150
Min. Order: 1 piece
Previous slide
Next slide
XXUN Motorcycle Front Fender Beak Nose Cone Extension Cover for Yamaha MT-03
MT03
2015 2016 2017 2018 2019 Lower
Headlight
Cowl
Ready to Ship
$13-20
Shipping per piece: $17.31
Min. Order: 2 pieces
Previous slide
Next slide
MT03
MT25 Front
Headlight
Headlamp for YAMAHA MT-03 FZ-03 FZ03 320 2016-2019 YZF-R25 / MT-25 R25 16-19 Replacement Head Lighting
$217-255
Min. Order: 5 pieces
1
2
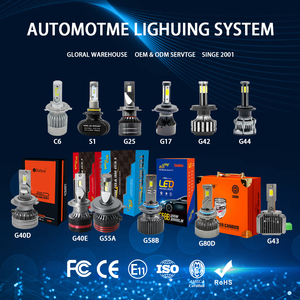
Top categories
Wheels, Tires & Accessories
Auto Performance Parts
Universal Parts
Auto Body Systems
Interior Systems
Marine Parts & Accessories
Auto Lighting Systems
Auto Engine Systems
Motorcycle Parts & Accessories
Auto Electrical Systems
Auto Brake Systems
Train Parts & Accessories
Railway Parts & Accessories
New Energy Vehicle Parts & Accessories
Cooling System
Auto Transmission Systems
Previous slide
Next slide


 Ready to Ship


 Ready to Ship