All categories
Featured selections
Trade Assurance
Buyer Central
Help Center
Get the app
Become a supplier
S50 S51 Parts Fuel
Tank
Moped Colors
Motorcycle
Fuel
Gas
Tank
With Side Cover
$
35
.99 -
37
.54
Min. Order: 100 pieces
Alibaba
Vehicle Parts & Accessories
Motorcycle Parts & Accessories
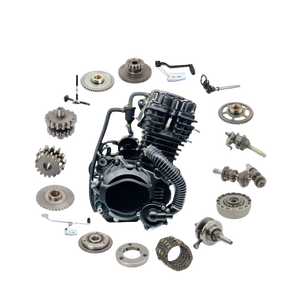
Motorcycle Engines
Motorcycle Fuel System
Motorcycle spare gas tank
(556 products available)
Previous slide
Next slide
S50 S51 Parts Fuel
Tank
Moped Colors
Motorcycle
Fuel
Gas
Tank
With Side Cover
$35.99-37.54
Min. Order: 100 pieces
Previous slide
Next slide
600D/RPET
Motorcycle
Riding Hard Shell Luggage Backpack Shoulder Waterproof Motocroos/Moto Racing Protective Drop ABS
Tank
Bags
$24.20-24.51
Min. Order: 2 bags
Previous slide
Next slide
CD70
Motorcycle
Fuel
tank
Cap For Dirt Bike
$1.20-1.40
Min. Order: 500 sets
Previous slide
Next slide
CHINA Hot Sale Petrol 3 Wheeler 150cc Cargo Tricycles 150cc Wind Cooled
Motorcycles
Motor Tricycle
$790
Min. Order: 20 units
Previous slide
Next slide
WANOU
Motorcycle
Fuel System TVS 150 Fuel
tank
Motorcycle
Gas
tank
Motorcycle
Petrol
tank
$19-20
Min. Order: 200 sets
Previous slide
Next slide
Fuel
Tank
3L Fuel
Gas
Diesel Oil Petrol Fuel
Spare
Tank
Container Fit for
Motorcycle
$9.70
Min. Order: 10 pieces
Previous slide
Next slide
Wholesale Cheaper
Motorcycle
Gas
Fuel
Tank
Plastic Petrol
Tank
Tap Cap for Looks Like CRF50 Electric
Motorcycle
Spare
Parts
Ready to Ship
$1.54-2.06
Shipping per piece: $50.57
Min. Order: 2 pieces
Previous slide
Next slide
For Suzuki Gn125 9L 3MM
Motorcycle
Fuel
Gas
Tank
125cc
Spare
Parts Including Oil
Tank
Essential for 125cc
Motorcycles
$230.50
Min. Order: 1 piece
1
2
3
4
5
More pages
14
Top categories
Wheels, Tires & Accessories
Auto Performance Parts
Universal Parts
Auto Body Systems
Interior Systems
Marine Parts & Accessories
Auto Lighting Systems
Auto Engine Systems
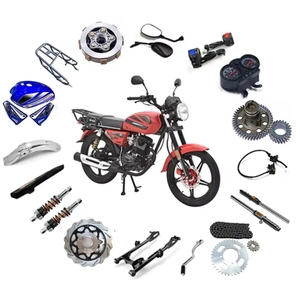
Motorcycle Parts & Accessories
Auto Electrical Systems
Auto Transmission Systems
Auto Brake Systems
Train Parts & Accessories
Railway Parts & Accessories
New Energy Vehicle Parts & Accessories
Cooling System
Previous slide
Next slide


 Ready to Ship