All categories
Featured selections
Trade Assurance
Buyer Central
Help Center
Get the app
Become a supplier
Auto
Map
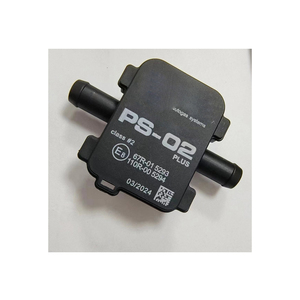
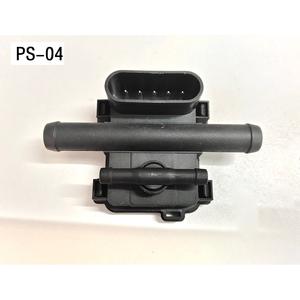
Senzor Ps02 Car air Pressure
Map
Sensor
Price
Ps-02 Mapping
Sensors
$
4
.05 -
5
.22
$4.50-5.80
-10%
Min. Order: 20 pieces
Alibaba
Vehicle Parts & Accessories
Auto Electrical Systems
Auto Sensors
Map sensor price
(1605 products available)
Previous slide
Next slide
Auto
Map
Senzor Ps02 Car air Pressure
Map
Sensor
Price
Ps-02 Mapping
Sensors
Ready to Ship
$4.05-5.22
$4.50-5.80
-10%
Shipping per piece: $16.69
Min. Order: 20 pieces
Previous slide
Next slide
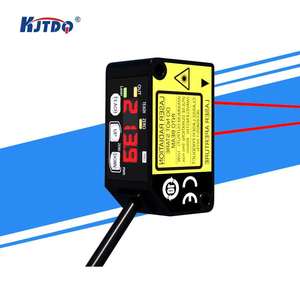
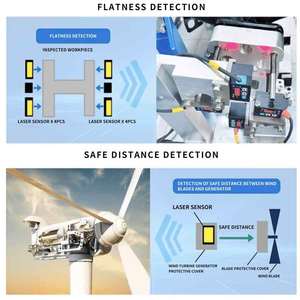
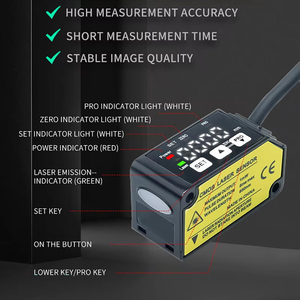
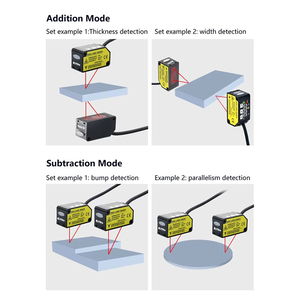
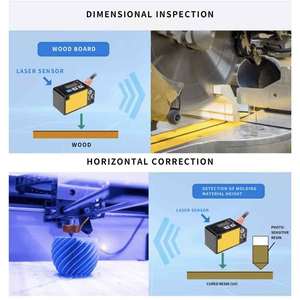
KJT Professional Measuring 20M Distance Laser
Sensor
High Precision Displacement Laser Range
Sensor
For Factory
$168-180
Min. Order: 1 piece
Previous slide
Next slide
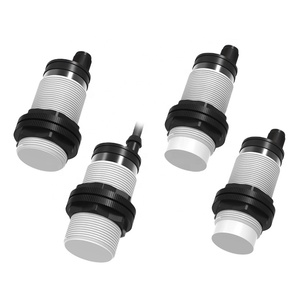
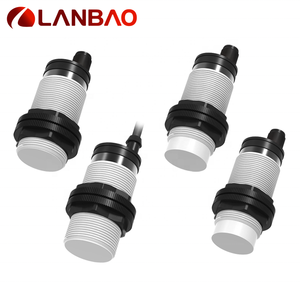
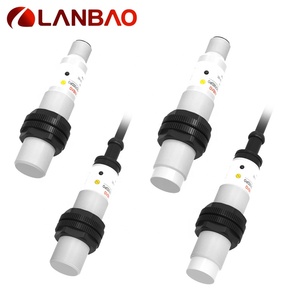
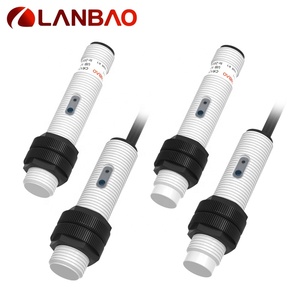
Lanbao Proximity
Sensors
Detect 10 Mm Sensing Distance
Sensor
Pnp No Capacitive
Sensor
$15.09-30.17
Shipping per piece: $8.91
Min. Order: 1 piece
Previous slide
Next slide
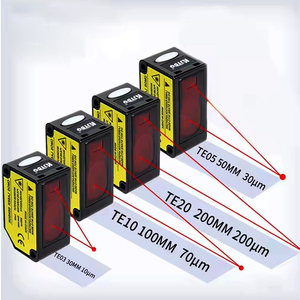
Dual Output Laser Displacement
Sensor
(4-20mA+USB) 50-250mm Non-Contact Measurement IP68 Rated
$110-180
Min. Order: 1 piece
Previous slide
Next slide
Nox
Sensor
Factory 5WK96612F 2296799 5WK9 6612F for Scania Euro5 Truck Car Bus Coach Series OEM NOx
Sensor
Manufacturer
Ready to Ship
$55-70
Shipping per piece: $7.50
Min. Order: 1 pair
Previous slide
Next slide
Wholesale Car Manifold Air Intake Pressure
Sensor
F01R00E014 F01R 00E 014
MAP
Sensors
for Changan Factory
Price
Auto Spare Parts
$4.20-6.80
Shipping per piece: $33.21
Min. Order: 20 pieces
Previous slide
Next slide
Cheap
Price
MAP
Sensor
Engine Air Intake Pressure
Sensor
03C907386E for Audi A4 A6 A8 Quattro Q5 R8
$5.80-6.40
Min. Order: 50 units
Previous slide
Next slide
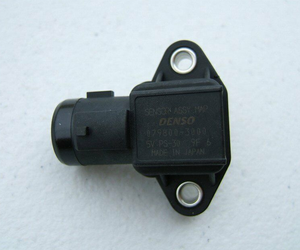
Factory
Price
for Honda
MAP
Sensor
Manifold Air Pressure Civic Accord Integra OEM 079800-3000
Ready to Ship
$4.30-6.60
Shipping per piece: $8.92
Min. Order: 5 pieces
1
2
3
4
5
More pages
41
Top categories
Wheels, Tires & Accessories
Auto Performance Parts
Universal Parts
Auto Body Systems
Interior Systems
Marine Parts & Accessories
Auto Lighting Systems
Auto Engine Systems
Motorcycle Parts & Accessories
Auto Electrical Systems
Auto Brake Systems
Train Parts & Accessories
Railway Parts & Accessories
New Energy Vehicle Parts & Accessories
Cooling System
Auto Transmission Systems
Previous slide
Next slide
Related Searches:
photoelectric sensor price
yellow loose tunic
skin sticker for playstation