All categories
Featured selections
Trade Assurance
Buyer Central
Help Center
Get the app
Become a supplier
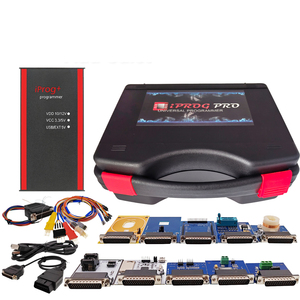
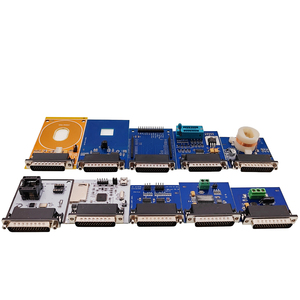
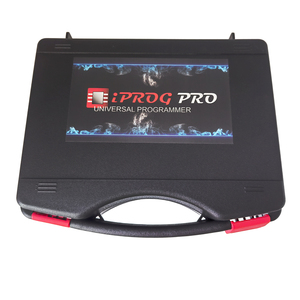
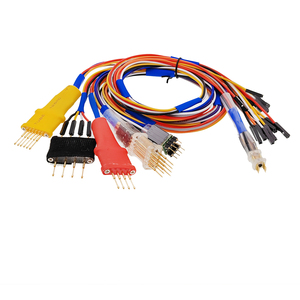
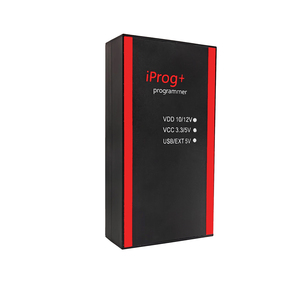
Iprog Pro Iprog+ V87
Full
with Probe Adapter
Full
Set
Ecu Key Programmer Support IMMO Car Radio PK
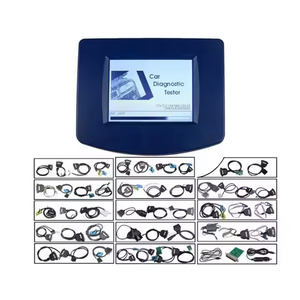
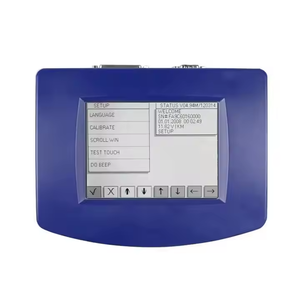
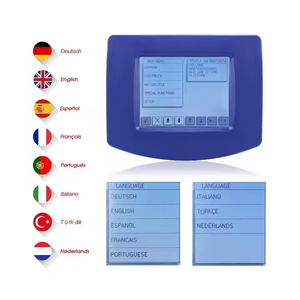
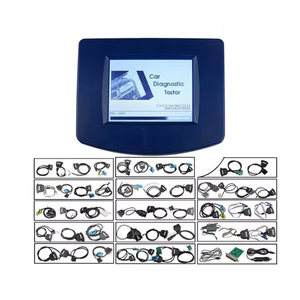
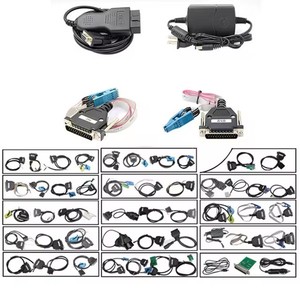
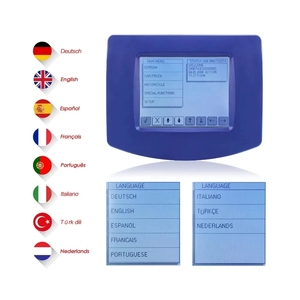
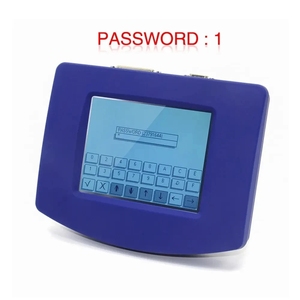
DIGIPROG
3
Carprog
$
73
.56 - 85
Min. Order: 1 piece
Alibaba
Vehicle Accessories, Electronics & Tools
Vehicle Tools
Diagnostic Tools
Digiprog 3 full set
(640 products available)
Previous slide
Next slide
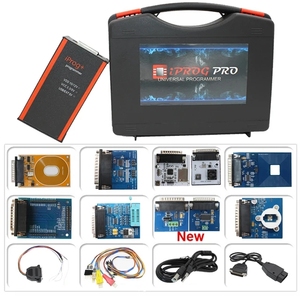
Iprog Pro Iprog+ V87
Full
with Probe Adapter
Full
Set
Ecu Key Programmer Support IMMO Car Radio PK
DIGIPROG
3
Carprog
Ready to Ship
$73.56-85
Min. Order: 1 piece
Previous slide
Next slide
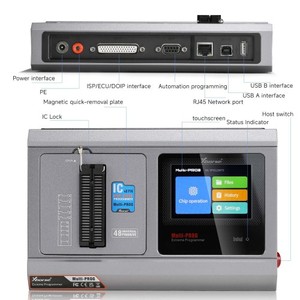
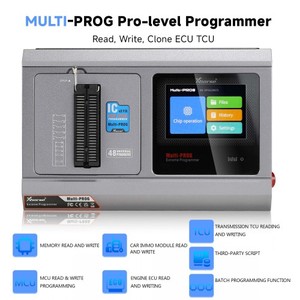
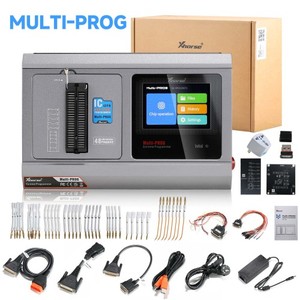
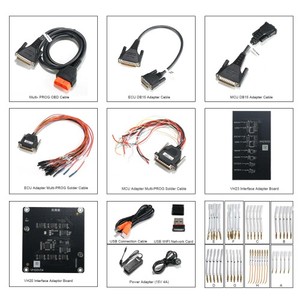
Xhorse Multi Prog Programmer XDMPG0GL Pro-level ECU TCU Programmer With Free MQB48 License Update Version Of VVDI Prog
Ready to Ship
$799
Shipping per piece: $31.28
Min. Order: 1 set
Previous slide
Next slide
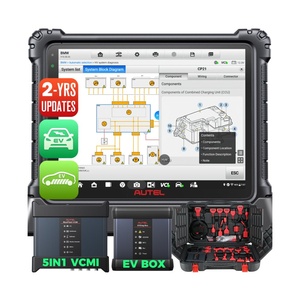
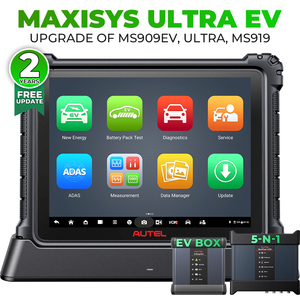
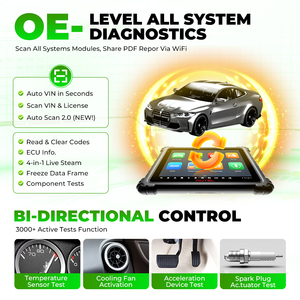
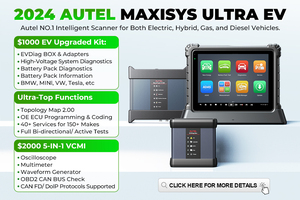
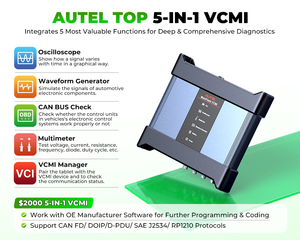
New Autel MaxiSYS Ultra EV Diagnostic Tools High-Voltage Battery Pack Analysis EVDiag Kit Bi-Directional ECU Coding Programming
Ready to Ship
$4,443-4,521
Shipping per piece: $0
Min. Order: 1 set
Previous slide
Next slide
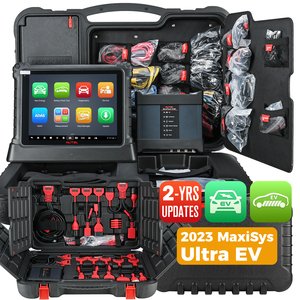
Ecu Programming Tool Autel Maxisy Ultra Ev Altar Maxis Ms909 Original Maxisys Ms Automobile Diagnose Scanner Scan Tool
Ready to Ship
$3,999-4,069
Shipping per piece: $0
Min. Order: 1 set
Previous slide
Next slide
MINIWARE DS213 Digital Oscilloscope 5-Track 4-Wave Line Digital Storage 2 Analog + 2 Digital Channels
$111.50-128.50
Min. Order: 10 sets
Previous slide
Next slide
Top Selling
Digiprog
3
Digiprog
Iii V4.94 Odo-meter Kit
Full
Set
With Cables
Ready to Ship
$119-129
Shipping per piece: $20.85
Min. Order: 1 set
Previous slide
Next slide
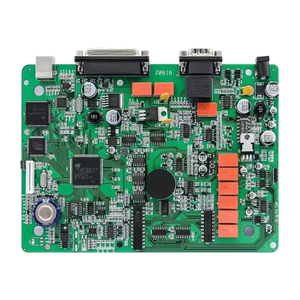
High Quality
Full
Set
Digiprog
3
Analyzer
Digiprog
III OBD V4.94 Programmer with FTDI Chip for Tool
Ready to Ship
$130-138
Min. Order: 1 piece
Previous slide
Next slide
High Quality
Full
Set
Digiprog
3
Analyzer
Digiprog
III OBD V4.94 Programmer with FTDI Chip for Mileage Adjustment Tool
Ready to Ship
$108-113.40
$120-126
-10%
Min. Order: 1 piece
1
2
3
4
5
More pages
16
Top categories
Interior Accessories
Auto Electronics
Exterior Accessories
Recovery & Off-road Accessories
Vehicle Equipment
Car Care & Cleanings
Fluid & Chemicals
Vehicle Tools
Petrol Service Equipment
Automobile interconnected products
Previous slide
Next slide
Related Searches:
digiprog 3 full
digiprog 3 original
digiprog 3 new
digiprog 3 bmw
digiprog 2
digiprog 3 update
digiprog 3
digiprog 3 2
digiprog 3 sale
digiprog 3 for sale
update digiprog
digiprog 4
digiprog 3 price
body kun dx set
digiprog

 Ready to Ship


 Ready to Ship


 Ready to Ship