
All categories
Featured selections
Trade Assurance
Buyer Central
Help Center
Get the app
Become a supplier
(1612 products available)


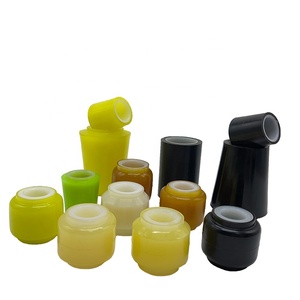


Control arm bushing tools are available in different types, depending on the size, design, and purpose. They include:
Press Tool
Control arm bushing press tools are used to push out and press in bushings on control arms. They have threaded rods with adapters of different sizes. The adapters fit onto the control arm or the bushing. One can use either the bushing or the control arm side, depending on which part is worked on.
Hammer Tool
This is a simple tool that consists of a bushing and a hammering tool. The tool is often referred to as a punch. The control arm bushing bushing and punch are placed inside the bapping, and the bushing is hammered out. Since this tool only consists of a hammer and punch, it is usually cheaper. However, it is more labor-intensive.
Rotary Tool
A rotary tool is used when the bushings are very rusted or when the bushings are welded onto the control arms. It is also used when other methods fail to remove the bushing. The rotary tool cuts through the bushing, which makes it possible to remove it by cutting. This method is usually the last resort when all other methods have failed to remove the bushings.
Universal Bushings Tool
Control arm bushing tools are designed to work on specific control arm bushing sizes and models. Universal bushing tools are designed to work on different sizes and models of control arm bushing. This saves time and costs when working on several control arms with different bushings. However, the universal bushing tool may not work optimally, like the specific bushing tool.
The control arm bushing tool has various specifications that make it applicable to different car models. Here are some of them:
Size
The bushing tool comes in different sizes to accommodate various sizes of control arms and bushings. The most common ones are 1/2 inch, 3/4 inch, and 1 inch in diameter.
Material
The control arm bushing tool is made from high-strength steel, chrome-molybdenum steel, or other alloy steel. This is to enhance its durability by making it wear and corrosion-resistant.
Compatibility
Some control arm bushing tools are designed to be used on specific car models. However, some are manufactured to be used on any car model. This is because the bushing tool's size and shape can accommodate different bushing sizes.
Design
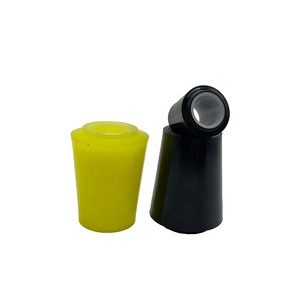
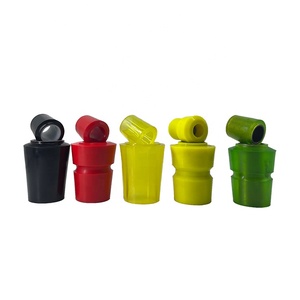
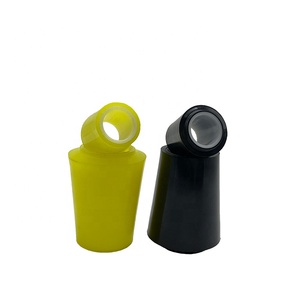
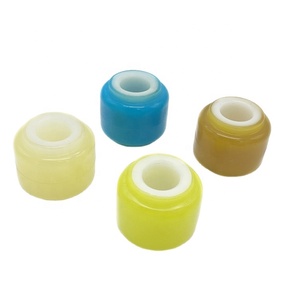
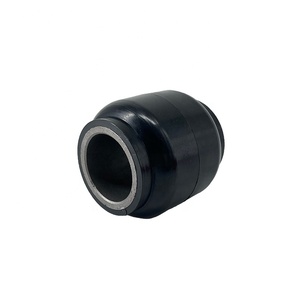
The control arm bushing tools have different designs depending on the bushing size and the manufacturer. Most of them have a cylindrical or cone-shaped body with a hollow center to fit over the bushing and the control arm. Some have a flared or tapered end to help push out the bushing.
Set
Control arm bushing tools are sometimes sold in sets that contain several tools with different sizes. This helps to accommodate various bushing sizes. The tools are usually packaged in a carrying case for easy transportation and storage.
Like any other tool, the control arm bushing tool needs to be maintained to increase its lifespan and efficiency. Here are some of the maintenance tips:
Choosing the right control arm bushing tool for a particular audience needs involves understanding their needs, preferences, and requirements. Here are some factors to consider when choosing control arm bushings tools for people’s needs:
Replacing control arm bushings requires a control arm bushing tool set, safety equipment, jack stands, and more. Here are the steps:
1. Gather the necessary tools and materials:
2. Ensure the vehicle is on a level surface and secure it with the jack stands. The wheel should be removed first, then the bushing tool set should be used to replace the bushings.
3. Loosen the lug nuts and remove the wheel. Follow the manufacturer's manual to locate the control arm and remove it from the vehicle.
4. The old bushings should be removed using a control arm bushing tool. The bushing tool should be aligned with the bushings, and the screws should be tightened to push out the bushings.
5. The new bushings should be lubricated using grease and installed using the bushings tool. The bushing tool should be aligned with the bushing and tightened to push the bushing into the control arm.
6. Reattach the control arm and wheel, then lower the vehicle. The control arm bushings should be replaced successfully. Always refer to the specific vehicle's service manual for detailed instructions and torque specifications.
Q1. How often should the bushings be checked?
A1. It's advisable to inspect control arm bushings every 30,000 to 60,000 miles. However, users should check them more frequently if they drive on rough roads.
Q2. Can one drive with damaged control arm bushings?
A2. Yes, users can drive with damaged bushings. Nonetheless, the damage will worsen over time, which can lead to more issues with the vehicle. This can make the car unsafe to drive.
Q3. Are all control arms bushings the same?
A3. No. There are different control arm bushings for various vehicles. They all serve the same purpose, which is to provide a smooth ride and support the vehicle's suspension system.
Q4. What is the average time it takes to replace control arm bushings?
A4. The time taken to replace control arm bushings depends on several factors. This includes the mechanic's skill level and the type of bushing being replaced. Generally, it can take anywhere from 1 to 3 hours.
Q5. What are the signs of failing control arm bushings?
A5. The signs of failing control arm bushings include a clunking noise when driving, uneven tire wear, loose steering, and vibration during acceleration.


