Types of cheap nail lamps
Nail curing lamps are used to dry and cure nail polish, gel, and acrylic to prevent chemical smudging. There are different cheap nail lamps that buyers can choose from depending on their specific needs. They include the following:
- UV lamps: Ultraviolet light lamps are the most popular type of nail curing lamp. They have four or more bulbs to emit UV light, which can cure gel polish. The lamp usually has a removable hand-curing tray that can be placed under the lamp while curing. One major drawback of UV nail lamps is that they take longer to cure, which can be up to three minutes, depending on the type of gel polish used. Moreover, they require frequent bulb replacement, which can be costly in the long run. Another drawback is that exposure to UV light can cause premature aging and skin cancer, which has led to the development of more advanced nail curing lamps.
- LED nail lamps: Light-emitting diode lamps are an advanced nail curing option compared to traditional UV lamps. They are energy-efficient, more affordable, and safer for use. Unlike UV lamps that take longer to cure the nail polish, the LED lamp can cure them within 30 seconds. However, the lamp can only be used to cure LED-specific gel polishes. It cannot be used to cure UV gel polishes.
- 3D/curved nail lamps: Three-dimensional nail lamps have a unique design that allows them to cover all sides of the hand or feet while curing. The nail lamp is mounted on a base with a curing unit that can be adjusted to cover the user's hands or feet. The lamp is more expensive than other nail lamps and is mostly used in professional nail salons.
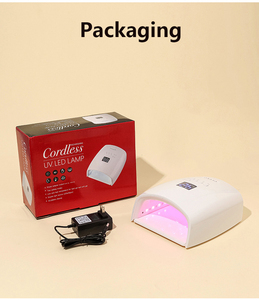
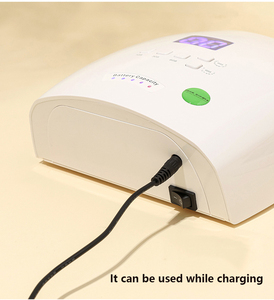
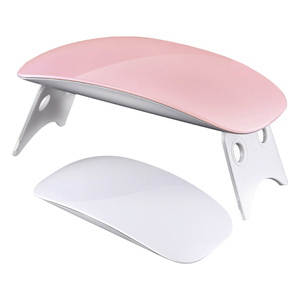
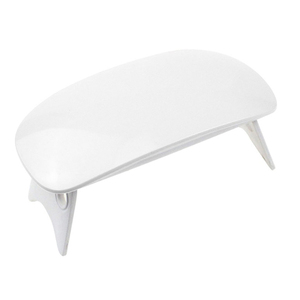
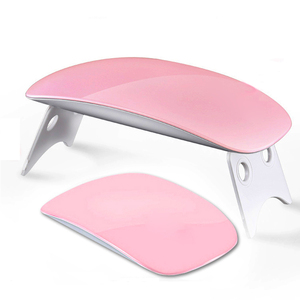
- Portable nail lamps: These are small, compact nail lamps that can easily be carried around in a bag whenever traveling. They are powered by rechargeable batteries that can be charged using a USB cord. Portable nail lamps are more affordable than stationary nail lamps.
- Multifunctional nail lamps: These are nail lamps with additional features that allow users to carry out different nail curing processes under one lamp. They include nail drill/ manicure set lamps. They have a nail drill set for manicure and pedicure, with separate attachments for drilling, buffing, and polishing the nails. Users can easily do their nail work without visiting a nail salon. The lamp is also used to cure the nail polish.
How to choose cheap nail lamps
While picking a nail lamp for an at-home manicure or pedicure, the following factors should be considered to ensure an informed purchase.
-
Type of Lamp
Nail lamps are available in various types, including UV, LED, and hybrid models. Each has its advantages and disadvantages. UV lamps cure all types of gels but take a longer time than LED lamps. However, there have been concerns about UV exposure and its risk of skin cancer. This may be an issue for some users. On the other hand, LED lamps are energy-efficient, use less power, and cure nails faster. However, they only work with specific nail gels. Therefore, buyers should carefully consider the type of nail lamps based on their individual preferences and needs.
-
Power/Wattage
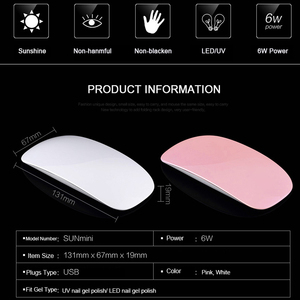
The lamp's power or wattage will determine how fast it can cure nails. Generally, the higher the wattage, the faster it will be. This is an important consideration, especially for people who frequently visit nail salons. Therefore, users should consider the wattage to ensure they get a model that provides efficient nail curing.
-
Size and design
The nail lamp's size and design is another important factor that users should consider. This is especially true for those who perform their manicures and pedicures at home. How well the lamp fits over the hand or foot will affect the user's experience. Buyers should look for lamps that have a spacious design to make them easy to use. In addition, the weight of the lamp will also impact the overall user experience. This is because heavier models may be difficult to use and take longer to complete the nail curing process.
-
Timer settings
Nail lamps with multiple timer settings will give users more control over the nail-curing process. Some nail lamps have an automatic timer that turns the lamp on or off when a hand or foot is placed inside or removed. This feature is convenient and user-friendly. However, buyers should check the timer duration to ensure they suit the types of gels.
-
Budget
Finally, users should consider their budget. Nail lamps are available in a wide range of prices, with some models going for less than $20. The price will depend on the nail lamp's features, brand, and technology. Generally, more advanced nail lamps will cost more. However, buyers can find many cheap nail lamps that offer similar features at different price points. Therefore, users should shop around to find models that suit their needs and preferences.
How to use, install, and product safety
How to use
- Prepare the Nails: Start by removing any old nail polish with nail polish remover. Shape the nails using a nail file to achieve the desired length and shape. Gently push back cuticles using a cuticle pusher or orange stick to prepare the nail bed for polish application.
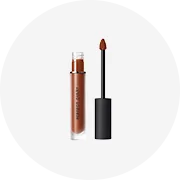
- Base Coat Application: Apply a thin layer of base coat to each nail, starting from the middle and moving toward the sides. The base coat helps protect the nails from staining and creates a smooth surface for color application. Cure the base coat under the nail lamp according to the recommended curing time, usually 30-60 seconds.
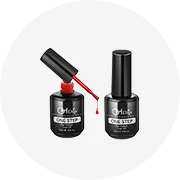
- Color Coat Application: Apply the first layer of the chosen nail polish color, keeping it thin. Then, cure this layer under the lamp. After the first layer is cured, apply a second layer of the same color nail polish and cure it again. This process ensures even coverage and a vibrant color finish.
- Top Coat Application: Apply a layer of top coat over the color to add shine and longevity to the manicure. Cure the top coat under the lamp with the same curing time. The top coat helps prevent chipping and enhances the overall appearance of the nails.
- Final Cure and Clean-Up: Cure all layers thoroughly. If the lamp has a timer, wait for it to turn off. Otherwise, manually set it for 60 seconds. Use a nail cleanser or cotton pad with nail polish remover to clean any excess polish around the nail edges. Apply cuticle oil to the nails and cuticles to moisturize them.
Installation and Usage Tips
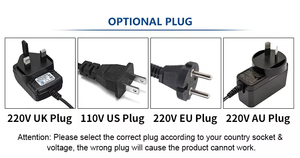
- Plug in and Turn on: Connect the nail lamp to a power source using the provided adapter or USB cable. Most nail lamps have a power button that needs to be pressed to turn it on.
- Cure Time: Pay attention to the recommended curing times for different nail products written on their labels. Usually, 30-60 seconds is sufficient to cure the nail polish. Double layers may need an extra second or two.
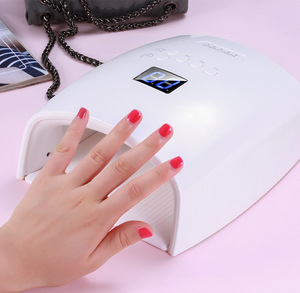
- Positioning Hands: Place hands or feet inside the lamp so all nails are exposed to the light. Do not touch the sides to avoid interrupting the curing process.
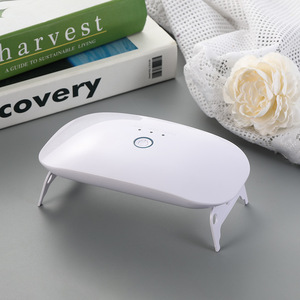
- Use Sensor Features: If the nail lamp has a motion sensor, it automatically turns on when hands are detected. No manual operation is needed.
Product Safety
- UV Exposure: Cheap nail lamps emit UV radiation, which can be harmful to the skin and eyes. Protect hands and skin by applying sunscreen or wearing UV-blocking gloves during use. Limit exposure to the lamp as much as possible.
- Skin Reactions: Some users may experience allergic reactions to UV light, resulting in rashes, redness, or swelling. Stop using the lamp if these symptoms appear and consult a dermatologist for advice.
- Proper Curing: Ensure that nail products are adequately cured under the lamp to prevent any adverse skin reactions. If the product remains sticky or does not harden after several seconds under the lamp, the user may need to apply another coat or change lamps.
- Use LED products: If possible, use LED nail polishes and gels as they contain no harmful ingredients and are specially designed for use with LED lamps. This combination reduces the risk of allergic reactions and skin damage.
Functions, features, and design of cheap nail lamps
Functions
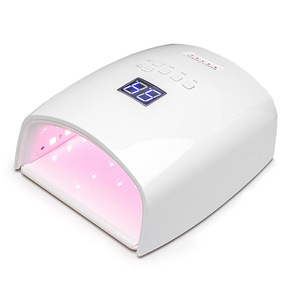
- UV/LED Nail Lamp Cure: The primary and most important function of a cheap nail lamp is to cure gel nail polish. The lamp emits UV or LED light, which hardens the gel polish, ensuring it dries quickly and securely attached to the nail. This curing process is vital for achieving a long-lasting, chip-resistant manicure or manicure.
- Nail Art Enhancement: Nail lamps can be used to cure nail art decorations such as stickers, rhinestones, or other 3D nail art elements. The lamp's light can help adhere these additional decorations to the nail, ensuring they stay on for a longer time. This makes the nail art look more professional and durable.
Features
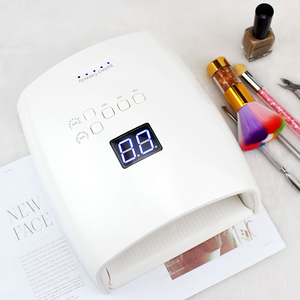
- Timer Settings: Cheap nail lamps often have built-in timers that automatically turn off after a set time, usually 30, 60, or 90 seconds. This feature helps users know how long they need to cure each layer of gel polish without manually checking the clock or guessing the time.
- Portable Design: Many affordable nail lamps are compact and lightweight, making them perfect for on-the-go manicures or travel use. Their portable design allows users to carry them easily and provide professional-quality nail care anywhere.
- Energy Efficiency: Most cheap nail lamps use LED technology, which is more energy-efficient than traditional UV lamps. The LED lamps consume less power, saving users money on electricity bills and extending the lamp's battery life if it is rechargeable.
Design
- Durable Construction: Cheap nail lamps are usually made of durable plastic or composite materials designed to withstand regular use in nail applications. Their sturdy construction ensures the lamp will last longer and operate reliably with each nail session.
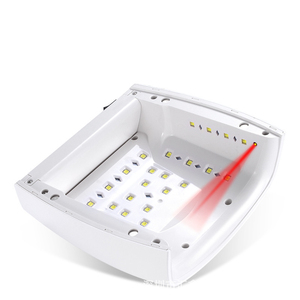
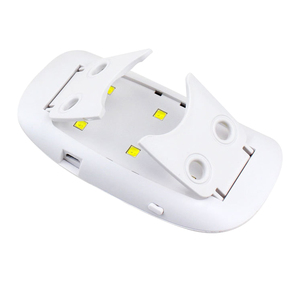
- Light Coverage: Affordable nail lamps come with different numbers of light tubes or bulbs, affecting the coverage and curing speed. Lamps with more bulbs provide better light coverage, ensuring that all parts of the nail, including the tips and sides, are cured uniformly.
Q&A
Q1: Do cheap nail lamps cure gel polish?
A1: Yes, the cheap nail lamps cure gel polish. They provide the required UV or LED light to harden gel nail products. It is essential to use a lamp with the right wattage. It ensures the gel polish cures properly.
Q2: Are inexpensive nail lamps safe for use?
A2: Many nail lamps meet safety standards. They are safe for use at home and in professional settings. Look for lamps that have protective grilles. They protect users from excess UV exposure. Using the lamp within the recommended hours also ensures users' safety.
Q3: How long do cheap nail lamps last?
A3: The average lifespan of nail lamps ranges from 12,000 to 50,000 hours. This means that, depending on usage, they can last for one to five years or more. Nail lamps with sturdy construction and quality materials tend to last longer.
Q4: Can cheap nail lamps cure both gel and acrylic nails?
A4: Gel and acrylic nails require different nail lamp curing processes. While gel nails harden under the nail lamps, acrylic nails do not need a lamp for curing. Instead, it is air that hardens the acrylic. Therefore, a gel lamp cannot cure acrylic nails.
Q5: What are the trends in affordable nail lamps?
A5: Some trends in affordable nail lamps include nail lamps with detachable bases and multiple timer settings. Others are nail lamps with LCD displays, higher power output, and wider UV coverage.


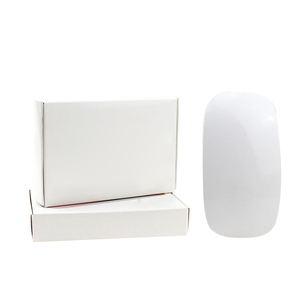


 Ready to Ship