All categories
Featured selections
Trade Assurance
Buyer Central
Help Center
Get the app
Become a supplier
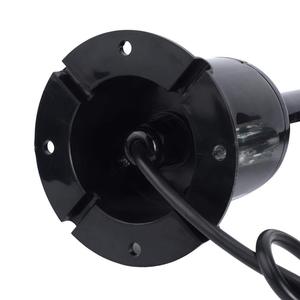
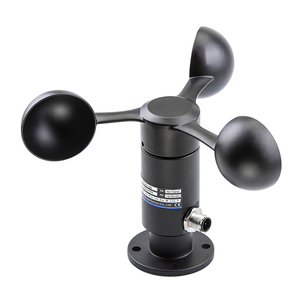
YGC-FSFX-S Oem Odm Obm DC9-30V Customized Design Tower Crane Anemometer
arduino
Meter Zigbee Anemometer
Wind
Speed
Sensor
$
17
.14 -
22
.18
$21.42-27.72
-20%
Min. Order: 1 piece
Alibaba
Testing Instrument & Equipment
Testing and Analysis Instruments
Physical Measuring Instruments
Speed Measuring Instruments
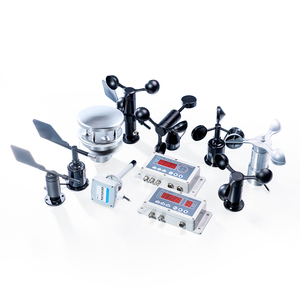
Arduino wind speed sensor
(975 products available)
Previous slide
Next slide
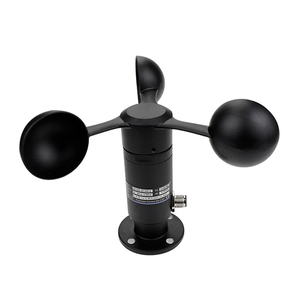
YGC-FSFX-S Oem Odm Obm DC9-30V Customized Design Tower Crane Anemometer
arduino
Meter Zigbee Anemometer
Wind
Speed
Sensor
Ready to Ship
$17.14-22.18
$21.42-27.72
-20%
Shipping per piece: $14.90
Min. Order: 1 piece
Previous slide
Next slide
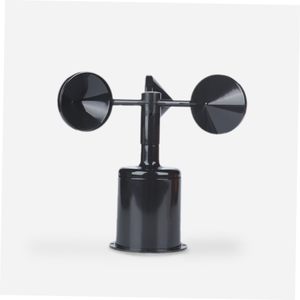
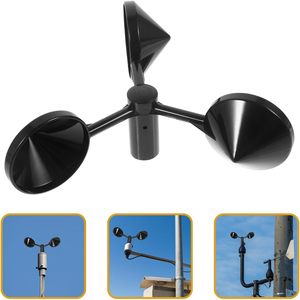
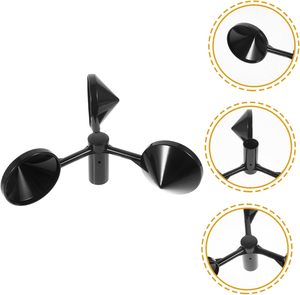
Wind
Speed
And Direction
Sensor
Cheap Plastic 4-20mA RS485 Analog Output Anemometer
Wind
Speed
Sensor
$9.50-15.20
Min. Order: 1 set
Previous slide
Next slide
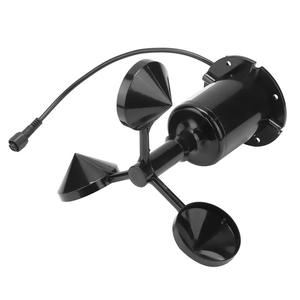
Integrated
Wind
Speed
And Direction
Sensor
Anemometer Rs485 Agricultural Environment Monitoring High-Precision Anemometer
$30
Min. Order: 1 piece
Previous slide
Next slide
Customized Support Industrial
Speed
Measuring Instrument Tower Crane
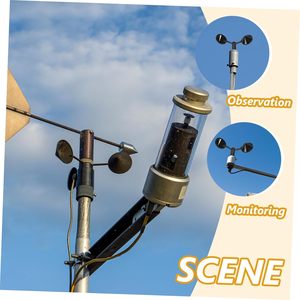
Wind
Speed
With Data Logger Meteorological Weather Station
Ready to Ship
$26.80-138
Min. Order: 1 set
Previous slide
Next slide
Weather Anemometer Analog 4 20ma 0 10v Digital Output
Wind
Vane
Speed
Meter For Sale Cost
Ready to Ship
$46-55
Shipping per piece: $20.84
Min. Order: 1 piece
Previous slide
Next slide
Veinasa-FS02 2-In-1 Anemometer for
Arduino
Weather Meteo Station
Wind
Speed
Wind
Direction
Sensor
Modbus
$108-109
Min. Order: 1 set
Previous slide
Next slide
FST200-201 Factory Supply
arduino
Wind
Speed
Sensor
Multi-output Ce Weather Station
Ready to Ship
$39-49
Shipping per piece: $16.69
Min. Order: 1 piece
Previous slide
Next slide
BGT-FS1 CE Certificated RS485 Output
Arduino
Wind
Speed
Sensor
for Weather Station with Good Feedback
Ready to Ship
$23.80-30.80
Shipping per piece: $11.72
Min. Order: 1 piece
1
2
3
4
5
More pages
25
Top categories
Lab Supplies
Testing and Analysis Instruments
Measuring & Gauging Tools
Testing Equipment
Previous slide
Next slide
Related Searches:
wind speed sensor for arduino
firstrate wind speed sensor
pipeline wind speed sensor
sy fs2 wind speed sensor
0 10v wind speed sensor
rohs approval wind speed sensor
4 20ma wind speed sensor
zigbee wind speed sensor
hall effect wind speed sensor
hall wind speed sensor
433mhz wind speed sensor
0 10v output wind speed sensor
airport wind speed sensor
rs485 output wind speed sensor
crane wind speed sensor

 Ready to Ship


 Ready to Ship


 Ready to Ship


 Ready to Ship


 Ready to Ship